How to create a class for customized signal
井民全, Jing, mqjing@gmail.com
Back to the Main Page
Google doc: This Document
ThinkDSP 套件提供了許多方便的 DSP 工具, 幫你產生聲音, 產生波形讓你檢視, 進行頻譜分析, 高通低通濾分析, 實在很好用.
Purpose
這篇文章教你如何建立一個最簡單的類別, 封裝你自訂的訊號, 然後就可以接上 ThinkDSP的各項功能, 進行訊號分析.
Key
- 重點就是如何回傳 evaluate function 的 ys 值, 其中 evaluate function 會給你 t 參數.
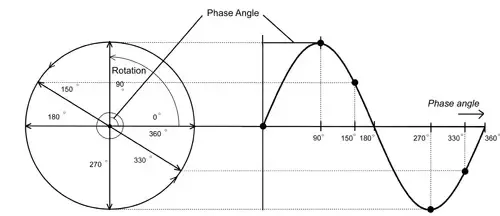
- 當然, 你得懂甚麼叫做 phase
Usage
signal = Test(f=1) # 給定頻率 = 1
# 測試聲音
wave1 = signal.make_wave(duration=4) # 建立 4 秒鐘,波形
wave1.make_audio()
|
Fig. A audio control for play the customized signal.
# 畫出波形檢視
wave1.segment(start=0, duration=2).plot() # 只看 2 秒鐘這範圍的波形 y
|

Fig. Show the customized signal for 4 second
Show me the code
from __future__ import print_function, division
%matplotlib inline
import thinkdsp
import thinkplot
import numpy as np
import warnings
warnings.filterwarnings('ignore')
from ipywidgets import interact, interactive, fixed
import ipywidgets as widgets
|
from thinkdsp import Signal
import math
# Define the my signal class for handling my customized signal
# Here, a simple cos signal is implemented.
class Test(Signal):
def __init__(self, f, amp=1.0):
self.f = f
self.amp = amp
def evaluate(self, ts):
phase = math.pi * 2 * self.f * ts # phase = 2\pi f t
ys = self.amp * np.cos(phase) # computes the amplitude of the wave as a function of phase
return ys
|