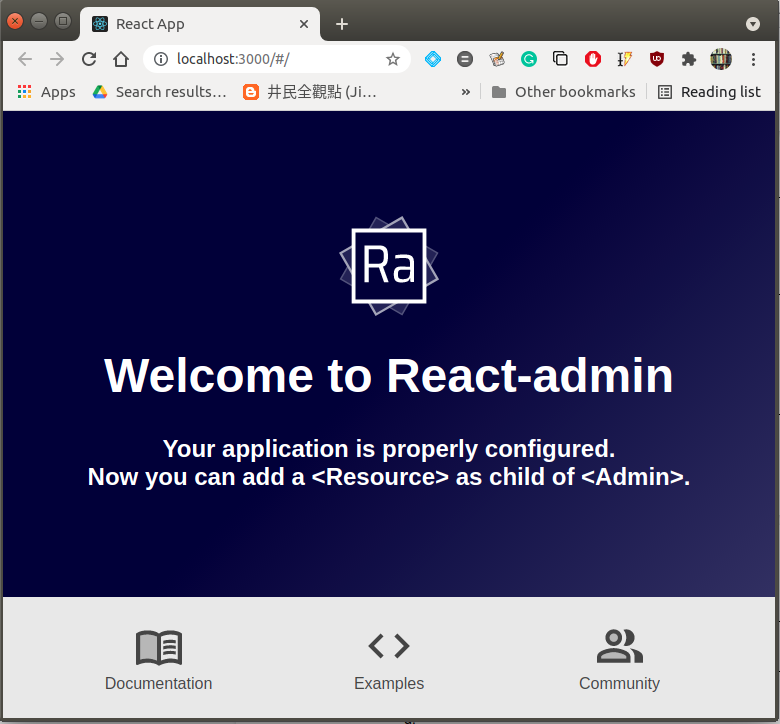
Bootstrap the react-admin
井民全, Jing, mqjing@gmail.com
Use React-Admin, you don't need to develop the Table, handle the remote data source,
and the authentication. This is my note of following the react-admin tutorial,
https://marmelab.com/react-admin/Tutorial.html.
You should read the tutorial.
Table of contents
1. Bootstrap 1
1.1. Set up 1
1.2. Data source 2
1.3. Bootstrap the Admin App 2
2. Add a list of users 3
2.1. Customized the list component 5
3. Reference 6
1. Bootstrap
1.1. Set up
npx create-react-app test-admin --template typescript cd test-admin yarn add react-admin ra-data-json-server prop-types
# test yarn start |
1.2. Data source
JSONPlaceholder: a fake REST API designed for testing and prototyping. We’ll build should allow to Create, Retrieve, Update, and Delete (CRUD) these resources
1.3. Bootstrap the Admin App
Let the App to render the Admin component and setup the dataProvider props for datasource.
File: src/App.tsx
import * as React from "react"; import { Admin } from 'react-admin'; import jsonServerProvider from 'ra-data-json-server';
// data source const dataProvider = jsonServerProvider('https://jsonplaceholder.typicode.com');
// Admin component without children const App = () => <Admin dataProvider={dataProvider} />; export default App; |

2. Add a list of users
React can have more than one resource childs resource. Giving a dataProvider, a Admin child component can be used to list the content.
import * as React from "react"; import { Admin, Resource, ListGuesser } from 'react-admin'; import jsonServerProvider from 'ra-data-json-server';
// data source const dataProvider = jsonServerProvider('https://jsonplaceholder.typicode.com');
// Admin component const App = () => ( <Admin dataProvider={dataProvider}>
{/* Fetch the record with the name as "users" from ${dataProvider}/users URL and list the record using ListGuesser component to display it.
*/ } <Resource name="users" list={ListGuesser} />
</Admin> );
export default App; |
Example

Fig. The ListGuesser component list the record users.
2.1. Customized the list component
You can customized the fields that show in the table. At first, Get the UserList and then keep useful fields.
Step 1: Get the template code from ListGuesser component
Procedure: Chrome browser: [Inspector] -> [Console]
Console
export const UserList = props => ( <List {...props}> <Datagrid rowClick="edit"> <TextField source="id" /> <TextField source="name" /> <TextField source="username" /> <EmailField source="email" /> <TextField source="address.street" /> <TextField source="phone" /> <TextField source="website" /> <TextField source="company.name" /> </Datagrid> </List> );
|
Where,
<List> comonent: Responsible for grabbing the information from the API, displaying the page title and handling pagination.
<Datagrid> component: Renders a table with one row for each record
<TextField> component: Maps the field in the API response specified by the source prop
Step 2: Create a simple Datagrid
Let create a clean usable grid by removing a couple filed from Datagrid.
File: src/users.tsx
export const UserList = props => ( <List {...props}> <Datagrid rowClick="edit"> <TextField source="id" /> <TextField source="name" /> <TextField source="username" /> <EmailField source="email" /> <TextField source="website" /> </Datagrid> </List> ); |

Fig. A Datagrid shows the user data by removing some fields.
3. Reference
https://marmelab.com/react-admin/Tutorial.html